Temperature Guides for Perfect Scoops
Homemade ice cream is a delightful treat that can be customized to suit any palate. Whether you prefer classic flavors like vanilla and chocolate or more adventurous combinations like salted caramel swirl or mint chip, making your own ice cream allows you to control the ingredients and create a frozen dessert that is truly one-of-a-kind. However, achieving the perfect texture and consistency can be tricky, especially if you’re new to the world of ice cream making. Fear not! With the right temperatures and techniques, you can churn out batch after batch of creamy, dreamy ice cream that will rival any store-bought variety. Here are some temperature tips to help you achieve ice cream perfection:
1. Chill Your Ingredients
Before you even think about churning your ice cream base, it’s essential to make sure that all of your ingredients are properly chilled. This means refrigerating your dairy products (such as milk, cream, and egg yolks) until they are cold to the touch. Chilling your ingredients not only helps to prevent the growth of harmful bacteria but also ensures that your ice cream base will freeze evenly when it’s time to churn.
2. Pre-Chill Your Equipment
In addition to chilling your ingredients, it’s also a good idea to pre-chill your ice cream maker and any other equipment you’ll be using. Most ice cream makers require a certain amount of time to freeze the bowl or insert before they’re ready to use. Be sure to follow the manufacturer’s instructions for pre-chilling your specific model to ensure optimal results.
3. Monitor the Temperature
When it comes to making ice cream, temperature control is key. Too warm, and your ice cream base won’t freeze properly; too cold, and it may become icy or grainy. Aim to keep your ice cream base at a temperature between 40°F and 45°F (4°C and 7°C) throughout the churning process. A digital instant-read thermometer, like the Thermapen®, is an invaluable tool for monitoring the temperature of your ice cream base and ensuring that it stays within the optimal range.
4. Cool Down Quickly
After you’ve finished churning your ice cream base, it’s important to cool it down as quickly as possible to prevent ice crystals from forming. Transfer the freshly churned ice cream to a shallow container and place it in the freezer for at least 2 to 4 hours to firm up before serving. For best results, cover the surface of the ice cream with a piece of parchment paper or plastic wrap to prevent freezer burn.
5. Let It Temper
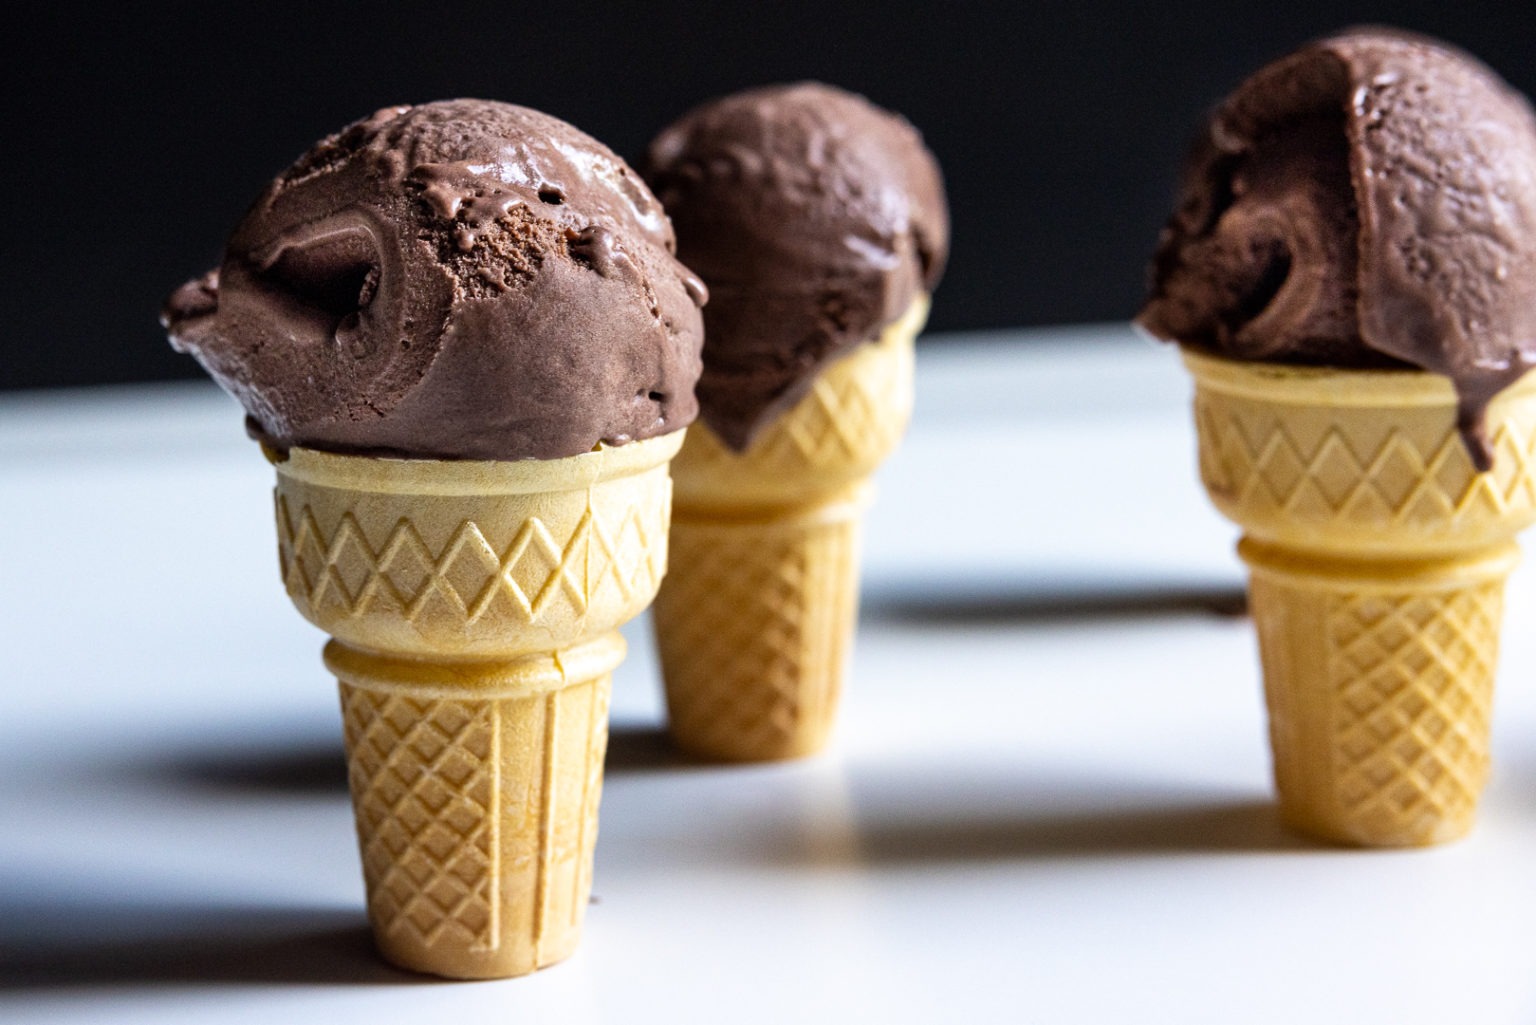
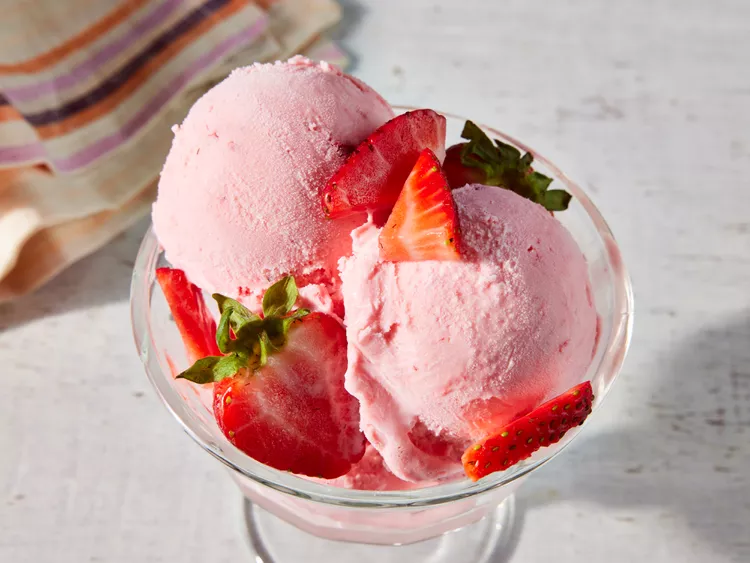
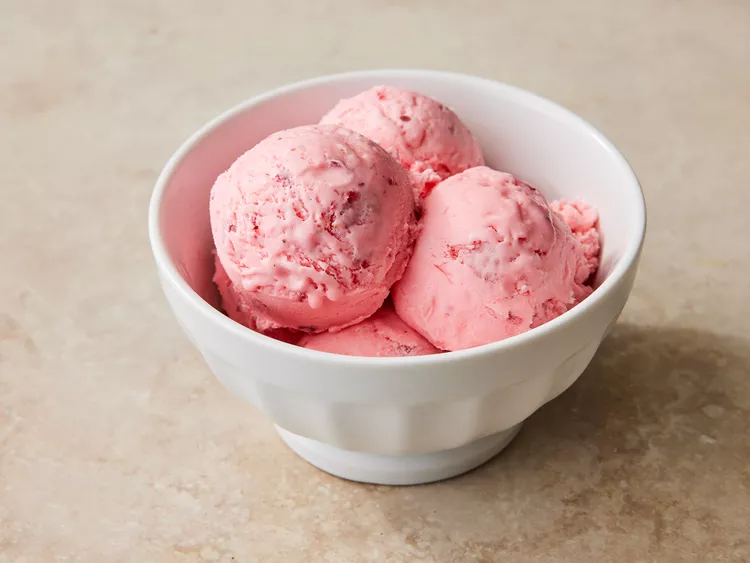
When it’s time to serve your homemade ice cream, be sure to let it temper at room temperature for a few minutes before scooping. Tempering allows the ice cream to soften slightly, making it easier to scoop and ensuring a smooth, creamy texture. Use a sturdy ice cream scoop to portion out perfect scoops of homemade goodness, and enjoy!
With these temperature tips and techniques, you’ll be well on your way to mastering the art of homemade ice cream. Experiment with different flavors and mix-ins to create your own signature creations, and don’t be afraid to get creative in the kitchen. Whether you’re making ice cream for a special occasion or just to satisfy a sweet craving, nothing beats the satisfaction of homemade ice cream done right.


